1. Download https://github.com/PowerShell/Win32-OpenSSH/releases (Download the x64 version)
2. Extract the OpenSSH-Win64.zip file and save it on C:\Program Files\OpenSSH-Win64
3. Go to Control Panel\System and Security\System. Click on Advanced System Settings and click Environmental Variables.
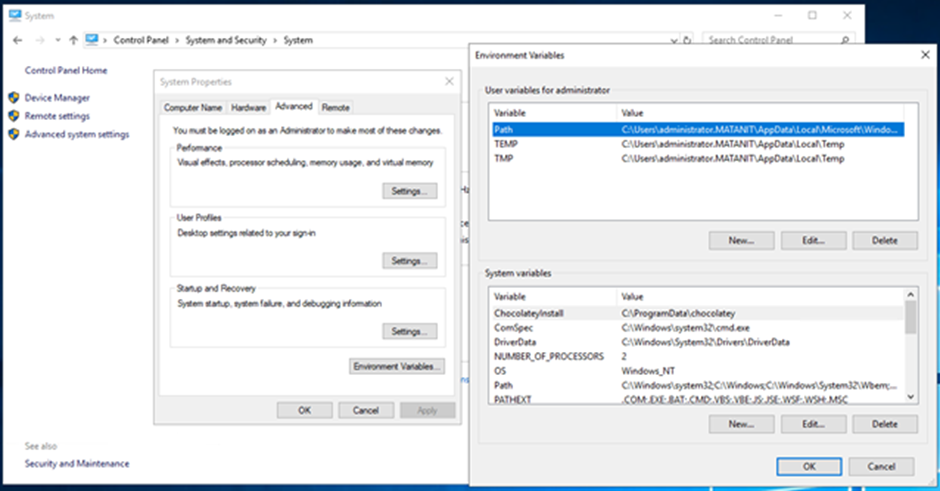
4. In the System Variables, select on Path, Click Edit Add the OpenSSH folder path:” C:\Program Files\OpenSSH-Win64”.

5. Run Powershell as an Administrator and Enter the path of OpenSSH folder. To install OpenSSH, We need to run the command ‘.\install-sshd.ps1’.
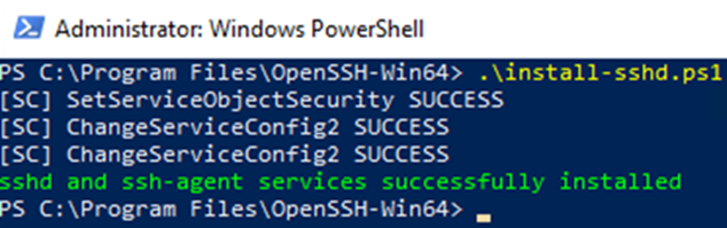
6. Now We can see 2 new SFTP services.
Click “Properties” on the 2 services and change the “Startup Type” to Automatic and click “start”.

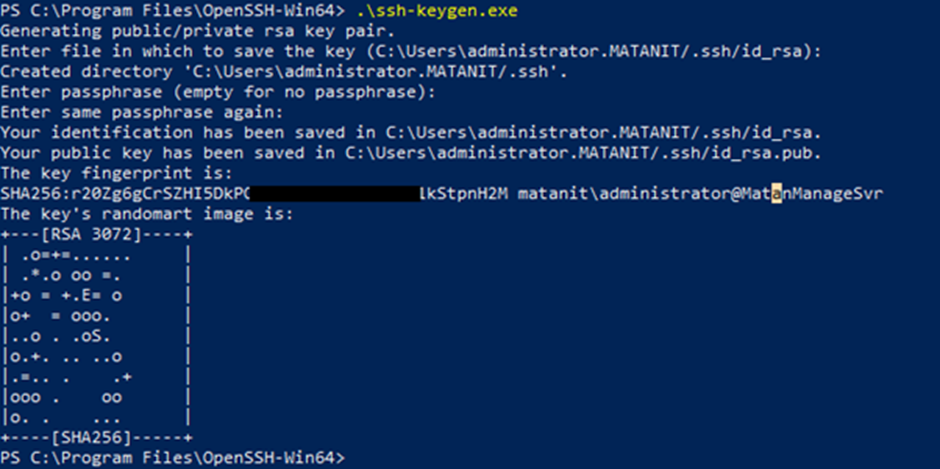
7. Now back to PowerShell and let’s Generate a host key by run the command ‘.\ssh-keygen.exe ‘. After that type on “Enter” three times.
8. Windows Firewall Settings to Allow SSH Connection
Run Powershell as an Administrator and run the command:
New-NetFirewallRule -Name sshd -DisplayName ‘OpenSSH SSH Server’ -Enabled True -Direction Inbound -Protocol TCP -Action Allow -LocalPort 22

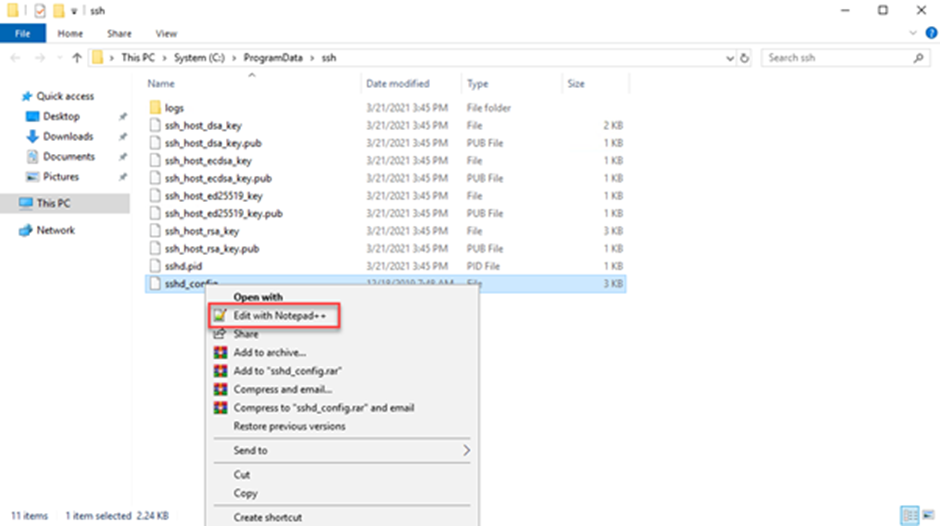
9. You Can Change the Root Directory by Edit the file “sshd_config“.
Go to “C:\ProgramData\ssh” right click on “sshd_config” file and add Click Edit
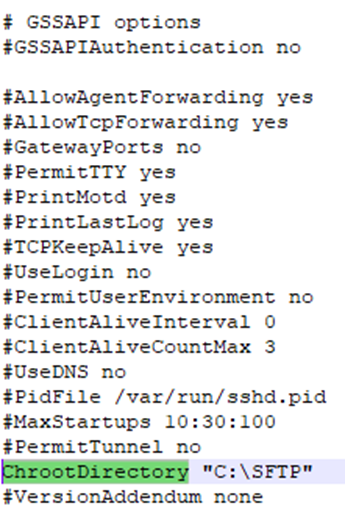
10. Find The value “ChrootDirectory” delete the “#” and Type The path You would like to set the SFTP Primary Directory.
11. Restart the two Services Of SFTP.
This Article Was Written By Matan Sigavker