Hi friends, in this guide we will learn how to configure USB as Bootable Media.
Nowadays it is no longer necessary to download an ISO file of Windows 10/11 that weighs almost 5GB just to be able to BOOT from it when we just want to enter CMD before the operating system comes up to perform Windows repairs due to a system crash or to perform a system restore and more.
Lets start
In the first step we will create WinPE on USB DRIVE:
Please download the following tools from Microsoft website:
Windows Assessment and Deployment Kit (ADK) deployment tools
https://go.microsoft.com/fwlink/?linkid=2196127
Windows PE add-on:
https://go.microsoft.com/fwlink/?linkid=2196224
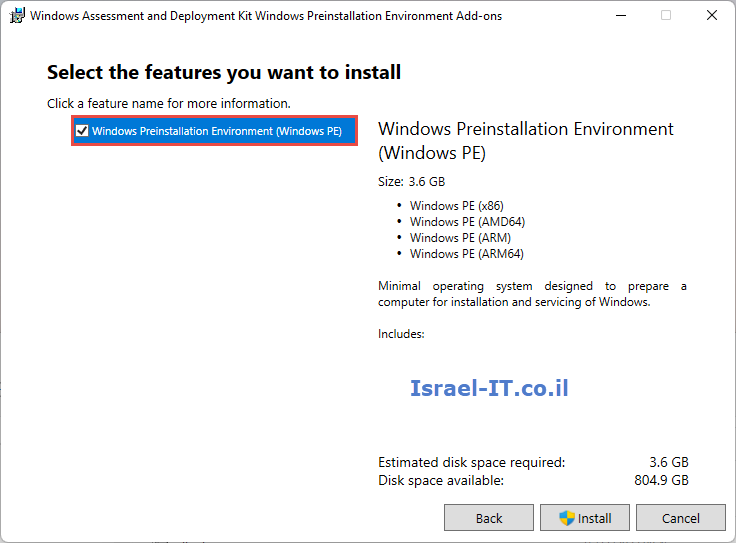
Install the Windows ADK (Windows Assessment and Deployment Kit) and mark only the
“Deployment Tools” checkbox.

Install also the add-on of Windows PE
When you done with the installation, open the tool named:
Deployment and Imaging Tools Environment
(You can find this tool in start menu)
Please run the following command:
copype amd64 C:\WinPE_amd64This command will create a new folder located on C drive named “WinPE_amd64” with WinPE files that we need to install on the USB drive.
Example:

Deploy WinPE and Configure USB Drive as Bootable
Run the following command:
MakeWinPEMedia /UFD C:\WinPE_amd64 X:Example:

Change “X” to a drive letter of your USB DRIVE on which you want to deploy the WinPE. (Note that this action will delete everything you have on the USB drive)
Another thing, you can also create an ISO file of the WinPE and save it on your computer or in a network folder.
To create the ISO, run the following command:
MakeWinPEMedia /ISO C:\WinPE_amd64 C:\WinPE_amd64\WinPE_amd64.isoNow the WinPE is ready and can be booted from it.
This Article Was Written By Matan Sigavker